


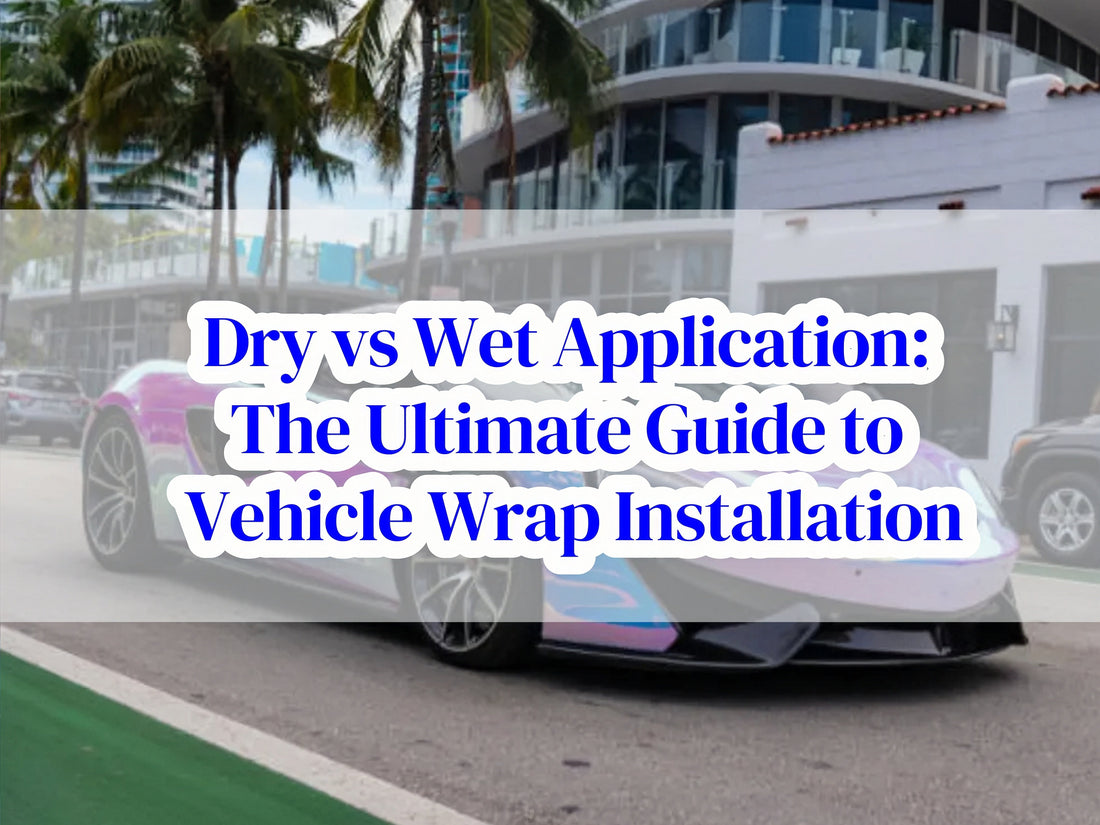
Dry vs Wet Application: The Ultimate Guide to Vehicle Wrap Installation
This article provides both technical depth and practical guidance, making it valuable for professional installers and DIY enthusiasts alike. The balanced approach helps readers understand when each method is most appropriate based on surface complexity, environmental conditions, and skill level.
Dry vs Wet Application: The Ultimate Guide to Vehicle Wrap Installation

Mastering the Art of Vinyl Application for Flawless Results
Article Overview
This comprehensive guide examines the two dominant vehicle wrap installation techniques: dry and wet application. We dissect the science, tools, and techniques behind each method to help installers and enthusiasts make informed decisions for different projects.

Dry Application
Direct adhesion technique
Wet Application
Slip solution method
Comparative Analysis
Technical specifications
Case Studies
Real-world applications
The Science Behind Adhesion

Understanding vinyl adhesion requires knowledge of pressure-sensitive adhesives (PSA) and their activation mechanisms:
Dry Application Mechanics
Dry installation relies on direct molecular contact between the adhesive and substrate. When vinyl is applied without solution:
- Adhesive makes immediate contact with surface
- Pressure activates bonding through mechanical keying
- Van der Waals forces create initial bond
- Full adhesion develops over 24-72 hour

Wet Application Chemistry
Wet method uses a slip solution (water + 0.25-0.5% surfactant) to:
- Create temporary barrier preventing instant adhesion
- Allow repositioning during installation
- Facilitate bubble elimination
- Evaporate to leave full adhesive contact
Professional Insight: The adhesive's tack level determines method suitability. High-tack vinyls (≥200g/25mm) generally work better with wet application, while medium-tack (100-200g/25mm) performs well with dry method.

Tools of the Trade
Dry Application Toolkit
- Squeegees: Felt-edged for initial tack, hard cards for final bond
- Heat Gun: 1000-1500W for complex contours (60-90°C optimal)
- Microfiber Cloths: Lint-free surface preparation
- Application Gloves: Nitrile to prevent contamination
- Magnets/Clamps: For large panel alignment
Wet Application Essentials
- Spray System: Fine mist sprayers (0.5-1.0mm nozzle)
- Squeegees: Channeled for water displacement
- Application Fluid: Isopropyl alcohol solutions (10-30%)
- Microfiber Towels: High-absorption for water removal
- Edge Sealer: Prevent solution migration

Real-World Application Scenarios
Case 1: Commercial Fleet Wraps
Method: Dry application
Reason: Flat panels, high-volume efficiency
Result: 35% faster installation, 15% material savings
Tip: Use air-release vinyl for large flat surfaces
Case 2: Motorcycle Fuel Tank
Method: Wet application
Reason: Compound curves, limited repositioning access
Result: Flawless contouring, zero material stretch marks
Tip: Use 70% isopropyl alcohol solution for quick evaporation
Case 3: Pickup Truck Bed
Method: Hybrid approach
Reason: Flat surfaces with textured areas
Result: Dry on flat panels, wet on textured surfaces
Tip: Apply edge sealer after wet application
Surface-Specific Recommendations
When to Choose Dry Application
- Flat or mildly curved panels (doors, hoods)
- Cast vinyl with air-release technology
- High-temperature environments (>25°C/77°F)
- Experienced installers working solo
- Rush jobs with immediate vehicle use
When to Choose Wet Application
- Complex curves (bumpers, mirrors)
- Textured surfaces (bed liners, trim)
- Beginner or intermediate installers
- Hot environments where vinyl becomes too tacky
- Large graphics requiring precise positioning
Common Mistakes & Solutions
Dry Application Pitfalls
-
Problem: Fingerprints on adhesive
Solution: Wear nitrile gloves -
Problem: Stretch marks on curves
Solution: Use proper heating technique -
Problem: Immediate adhesion errors
Solution: Work in smaller sections
Wet Application Challenges
-
Problem: Water spotting
Solution: Use distilled water in solution -
Problem: Adhesive failure
Solution: Ensure proper solution ratio -
Problem: Extended drying time
Solution: Increase alcohol percentage

Professional Verdict
After examining both techniques through scientific analysis and practical application, our installation specialists conclude:
For 80% of professional shops: Master both methods and deploy them situationally. Dry application excels on flat surfaces and high-volume work, while wet application shines on complex contours and for less experienced technicians.
For DIY enthusiasts: Start with wet application for its forgiveness and repositionability. As skills develop, experiment with dry method on small, flat surfaces.
The ultimate solution: Many top installers use a hybrid approach - dry application on main panels with wet method for challenging areas like bumpers and door handles.
Remember: The method matters less than proper surface preparation, quality materials, and patient technique. Choose the approach that matches your skill level and project requirements, not industry trends.
Prev post

TPU Color-Change Films: Premium Innovation or Overpriced Hype?
Updated on 21 August 2025
Next post
What is PVC? The Backbone of Car Wraps: Deep Dive into PVC Material
Updated on 13 August 2025